Site update 2025: Welcome! I got tired of dealing with WordPress and having to delete hundreds of spam comments because automated solutions were no longer cutting it, so if you have anything you want to contact me about, hit me up on Bluesky.
This site exists to motivate me to create more things. I document my music, dreams, videos, and arcade machine repairs here.
Here are some of the latest things I have added. Please enjoy.
Escalculator
The second Astromage single is here.
More music posts...
Mangoes in Rogue
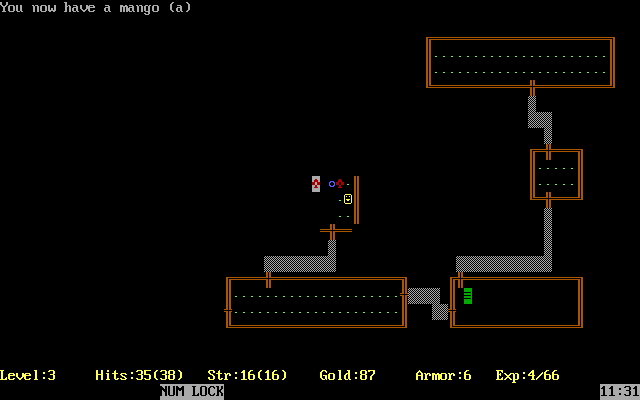 Whenever someone mentions mangoes, the first thing I think of is "My, that was a yummy mango" but this is a pretty niche thing to quote to someone that didn't spend hours playing Rogue as a kid.
When you start to get hungry in the game of Rogue, you have to eat some generic "food," or a fruit. I had always known the fruit in this game to be a mango, but as it turns out, my childhood experiences playing Rogue are not representative of every version of the game.
Read further...
Dream 2025.11.29
A kid in my store was jiggling tables with cups of liquids on them and I was telling him he needed to stop. A guy sitting on the couch started jiggling the coffee table with a measuring cup of chocolate milk on it, apparently in solidarity with the kid, and was smiling playfully as if he thought I would enjoy the joke. I said "sorry, but I'm going to have to ask you to leave," and he started walking towards the door, yelling in Spanish. I looked at him and said "sorry, I don't understand." He said sobbing, "it means I don't apologize to anyone! Anymore," and finally left. I was upset about having kicked out all the customers for their behavior and asked my girlfriend what I should have done. It was dark outside and through grandma's bay window I could see a mouse crawling around and sticking its snout into a volcano-shaped pile of leaves. Girlfriend said "that's not a mouse, it's a mongoose." It was, and it came inside phasing through the wall and started crawling around. He rolled his suspiciously raccoon-like body around on the floor at my feet and showed me his belly, and I was increasingly concerned by his two rows of prehensile concentric spiral teeth as he kept yawning. I took as many pictures as I could.
More strange dreams...
Joust repair log
From 2017 to early 2020, I was repairing a Joust cabinet that we had acquired from a rural area. The person who sold it to us claimed that it had been in a hotel lobby for years. They also claimed that it had been "working like a champ" up until we came to see it. Regardless, it was a good price even if it was not running, so we gladly picked it up.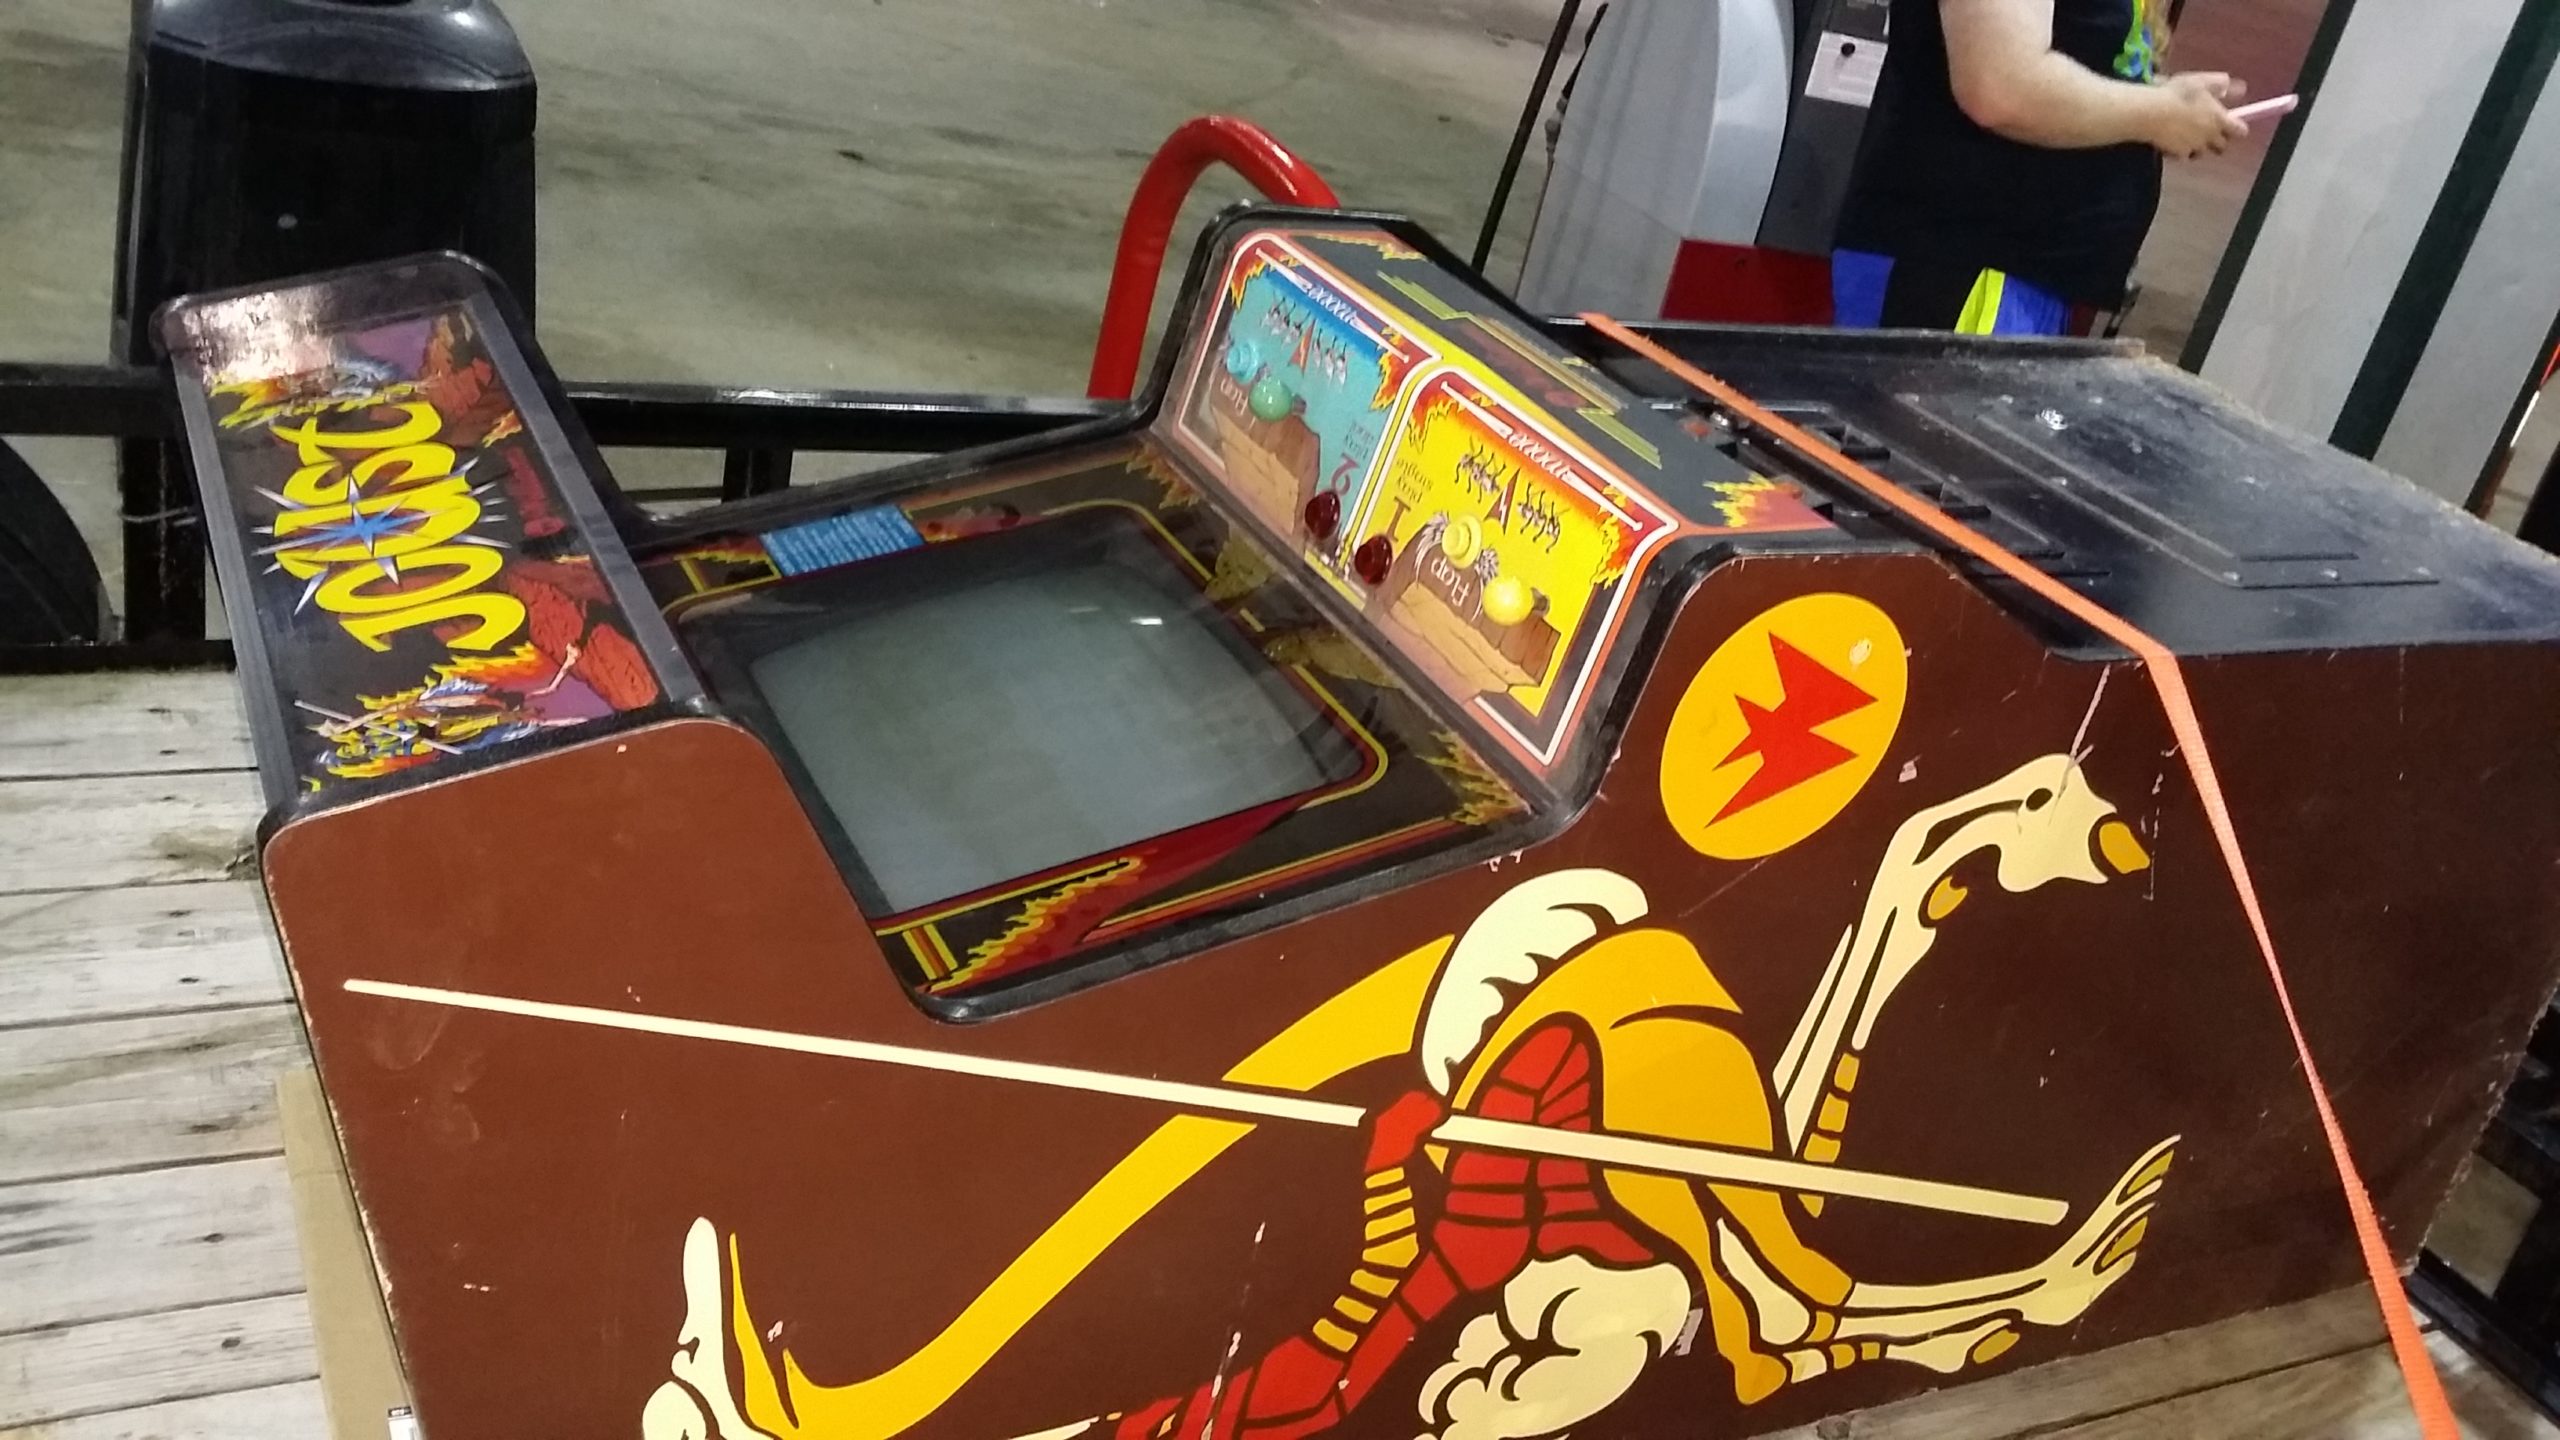
Read further...
$$$ COMMERCIAL
More unearthly videos...