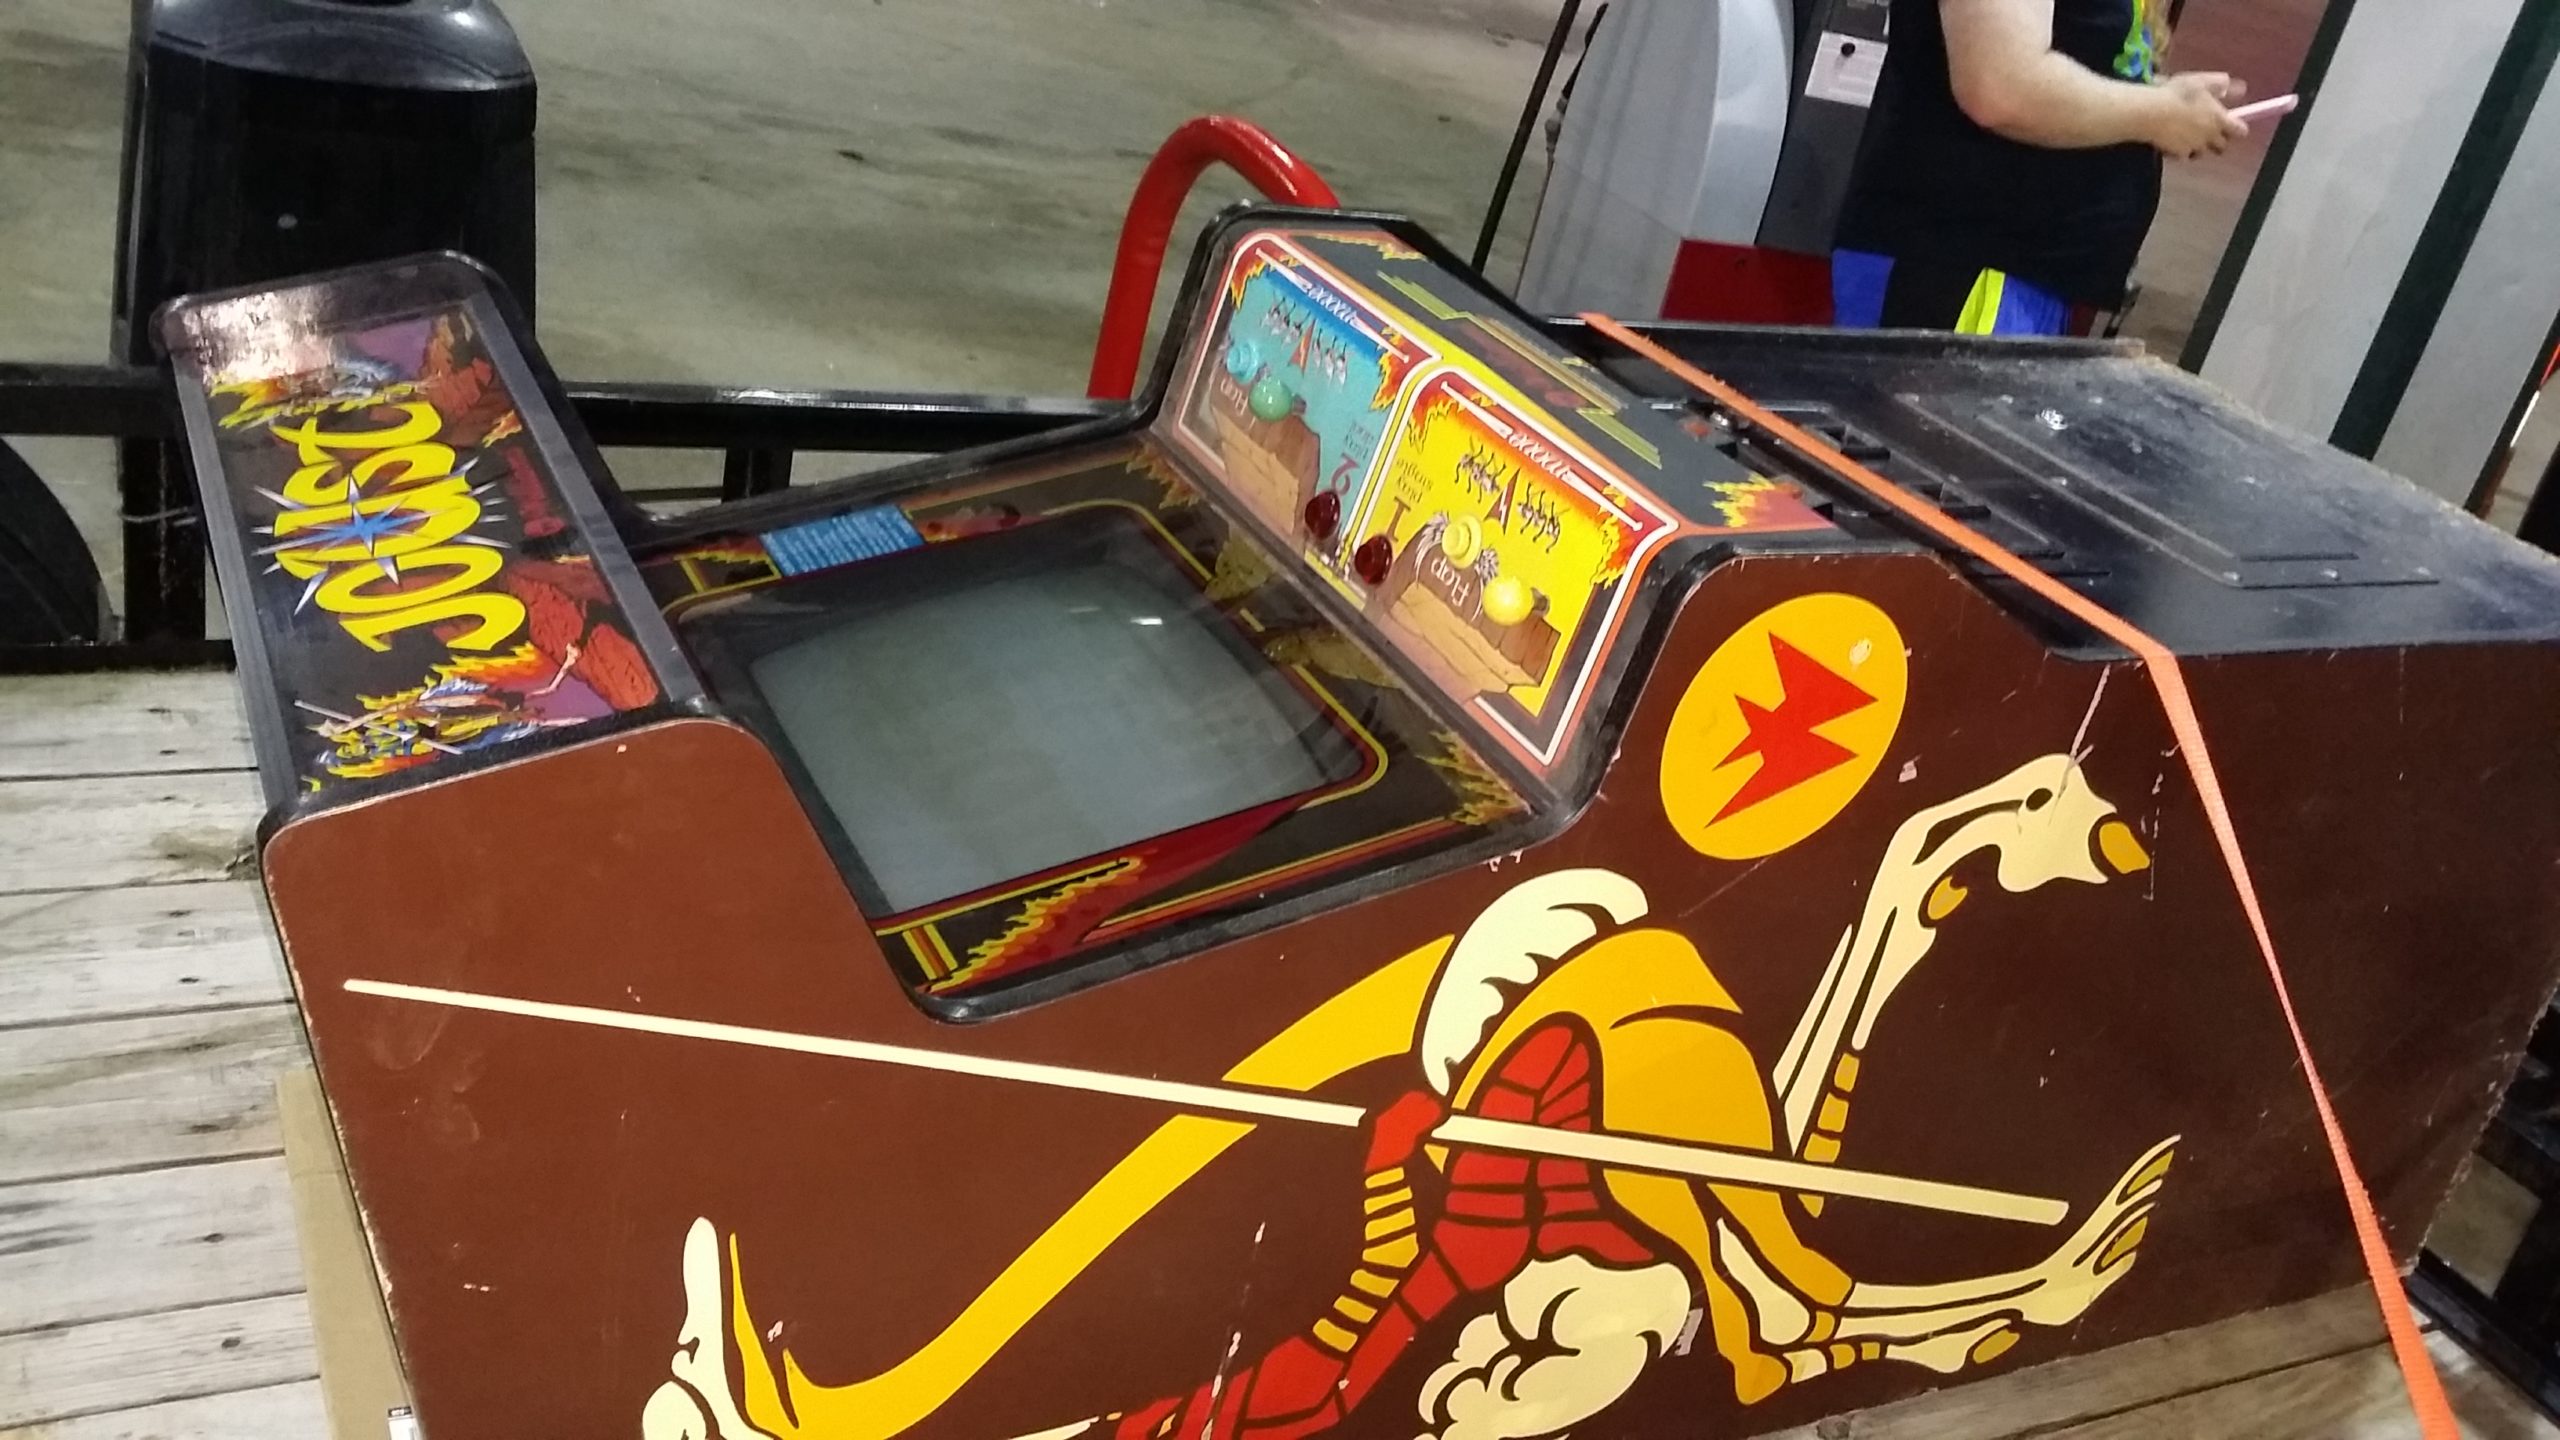
Space Invaders Deluxe Repair Log

This repair has been in the works for about two and a half years. It was stopped variously by lack of knowledge, lack of proper tools, and lack of time, but eventually repairs were completed and the game is fully functional.

When I started working on it, of course the first thing I had to do was replace the original AC plug end with one that hadn’t had its ground pin removed. Old arcade ops seem to have been very bad about removing them. After that, I also had to switch out the fuse block because the original was so corroded and soft, I’m sure it wouldn’t have done its job much longer.

When I turned the game on, it emitted an explosion sound followed by an earth-shaking hum. I believe this was due to a shorted tantalum capacitor on the sound board.

This dark blue one in the center looks especially suspect.

I replaced all the tantalum caps and the hum disappeared, but the game still showed no signs of life.

I did get this very cool picture though.

I tried a cap kit on the monitor, partially due to age and condition, but partially to see if that was why I wasn’t getting any video.

This board attaches to the rest of the monitor chassis via this unusual array of pin connectors all around the perimeter.
The anode cap also was in some severe need of cleaning before the rubber got any stickier.

That didn’t have any visible effect, so while I was at it, I also did a cap kit on the power supply to help future proof the game.
So, at about this point I got a reply from KLOV user Kaizen with an extremely helpful diagram of his readings of all the logic chips on a functional Space Invaders motherboard. The layout wasn’t exactly the same as my Space Invaders Deluxe, but only a couple chips are in different locations so I was still able to compare. The problem was, I didn’t have a spare power supply or monitor handy to rig up a test bench.
While I pondered setting that up, I did some cleaning of the cabinet’s display area, which was full of dead spiders and dust from being forgotten in a building for who knows how long. The marquee area had a big “NO SMOKING” sticker on it, obviously necessary because of how horribly marred and burnt by ash the control panel had become.

A tragedy.
The monitor overlay and mirror are in very nice shape aside from the dust.
The burn-in is unfortunate but super cool at the same time.

I also cleaned up the tarnish on the ROMs while I was at it.

I wonder why this one is an EPROM instead of a Mask ROM like all the others.
They all used to have labels to show which socket they went into but H is the only one that survived. I wonder if this is actually from the factory though since it’s so handwritten.

Well, the game sat around for about another year before I was able to get back around to it. What spurred me into finishing the repairs was that I now had an extra power supply due to another project, so I was able to rig up a test connector inspired by The Defender Project and Elektron Forge.

Using my logic probe, I compared the state of each pin to what was on the diagram, which helped me to identify chips that were potential problems. Then after several hours of studying the motherboard schematics, since I am no electrical engineer, I traced the incorrect signals back to two possible chips.

I took a guess as to which one might be causing the other to malfunction, and my first guess was wrong. However, my second guess was on the money: An SN7416N at location E7 on the board.

Partially desoldered in this photo.

This is a counter chip that I believe divides the clock signal into other frequencies that are then used by other components on the board. Instead of performing its prescribed function and pulsing at 120Hz and 480Hz, this chip had several pins stuck high, making other chips on the board freeze in an inoperative state. Once that chip was replaced, the board booted up.

However, there was still a problem. The invaders seemed to be leaving afterimages of themselves on the screen whenever they moved closer to the player.

I initially thought this was a RAM error, and the version I had on hand of the Space Invaders Test ROM seemed to agree with me. But that version was known to initialize the RAM test incorrectly, and thanks to advice from blinddog and Lurch666 I was able to nail down the real cause of the problem: A bad 74175 chip on the bit shifter.
The bit shifter is an ancillary piece of hardware that is responsible for the movement of the invaders on the screen because the CPU is too slow to handle moving them while keeping track of the rest of the game. If the shifter is malfunctioning, it can cause errors like this. It can also apparently cause the game to end prematurely when all the aliens decide to rush you at once after you’ve been playing for a few seconds. I got lucky because the 74175 chips are fairly easy to find, but the AMD 2510s (which are controlled by the 74175s) on the right side of the board are not so common. I replaced both 74175s because there’s not a really good way to tell which one is bad while they’re in circuit.

One of the two chips in the upper left was to blame for my shifting woes.

Now, while I was figuring this out, I still had some cabinet maintenance to do. At some point in the distant past, the original white blacklight in the cabinet was replaced with a regular purple blacklight. This massively dims the illumination behind the playfield, rendering the moon base diorama almost invisible.

By carefully reaching behind the monitor area, I was able to remove the old light from its fixture and replace it with the correct one. After that, I had a good picture on a game that played properly.

I’m still in awe of how this simply engineered color design works so well. The band of yellow on the monitor fits perfectly with the atmospheric glow in the background.

But the party wasn’t over yet!
There were two things left to fix up: The control panel and the marquee.
The marquee was easy. All of the original #1895 automotive bulbs had long since burned out, but my local lighting store (where I also got the white blacklight) had some #57 bulbs which are almost exactly the same. I got 10 for a whopping 16ยข apiece.

They had been there for a while.
Behind the marquee plex.
Hello, spider carcass.

There was only the control panel to fix now. I ordered a replacement CPO from Phoenix Arcade because they seemed to have the best reproduction, and it did not disappoint.

Thus began the arduous task of removing the old overlay. The silver stuff under the original overlay isn’t paint; it’s actually the original adhesive backing.
I removed the hardware from the control panel and went out to give it a good scrubbing before dunking everything in Evaporust for a night. I really want to get new #8 carriage bolts for this but no one locally keeps them in stock, so I haven’t gotten around to ordering them yet.

Gross.
Time to get less gross.
And then, even less gross, along with all the button hardware.

After quite a lot of scraping and pulling, I removed all of the old adhesive. Underneath there were some really trippy patterns that I assume were caused by something spilling underneath the parts where the old overlay had broken off.

In order to get maximum adhesion for the new overlay, I sanded down the old paint and re-coated it with new black paint.

By carefully aligning the new screw holes and slowly peeling the backing on the adhesive, I was able to line up the new overlay without too much trouble. Then I screwed in all of the hardware and buttons. I also reinstalled the T-molding on the front after it had a nice scrub in the sink. Now the control panel was ready to finally reinstall in the cabinet.

Towels to prevent scratching of the shiny new overlay.
Incredible!

I still need to scrub off the T-molding on the sides of the cab, but the major parts of this restoration are done. I’m quite pleased with how it turned out!

One thought on “Space Invaders Deluxe Repair Log”

  1. Nice project. I just got a SID myself. Looks like it has been in private possession for a long time, so was stock and took minimal clean up.

Leave a Reply to Alex Cancel reply

Your email address will not be published. Required fields are marked *